5. Tutorials#
5.1. Steps to use MailTrigger#
Assume you own the mydomain.abc domain and want to send the content of emails from jack@mydomain.abc to a LINE chat group. You can achieve this by following these steps.
Necessary Action: Please ensure the SPF settings of the domain (e.g., mydomain.abc) are correct, otherwise, the email will be bounced back.
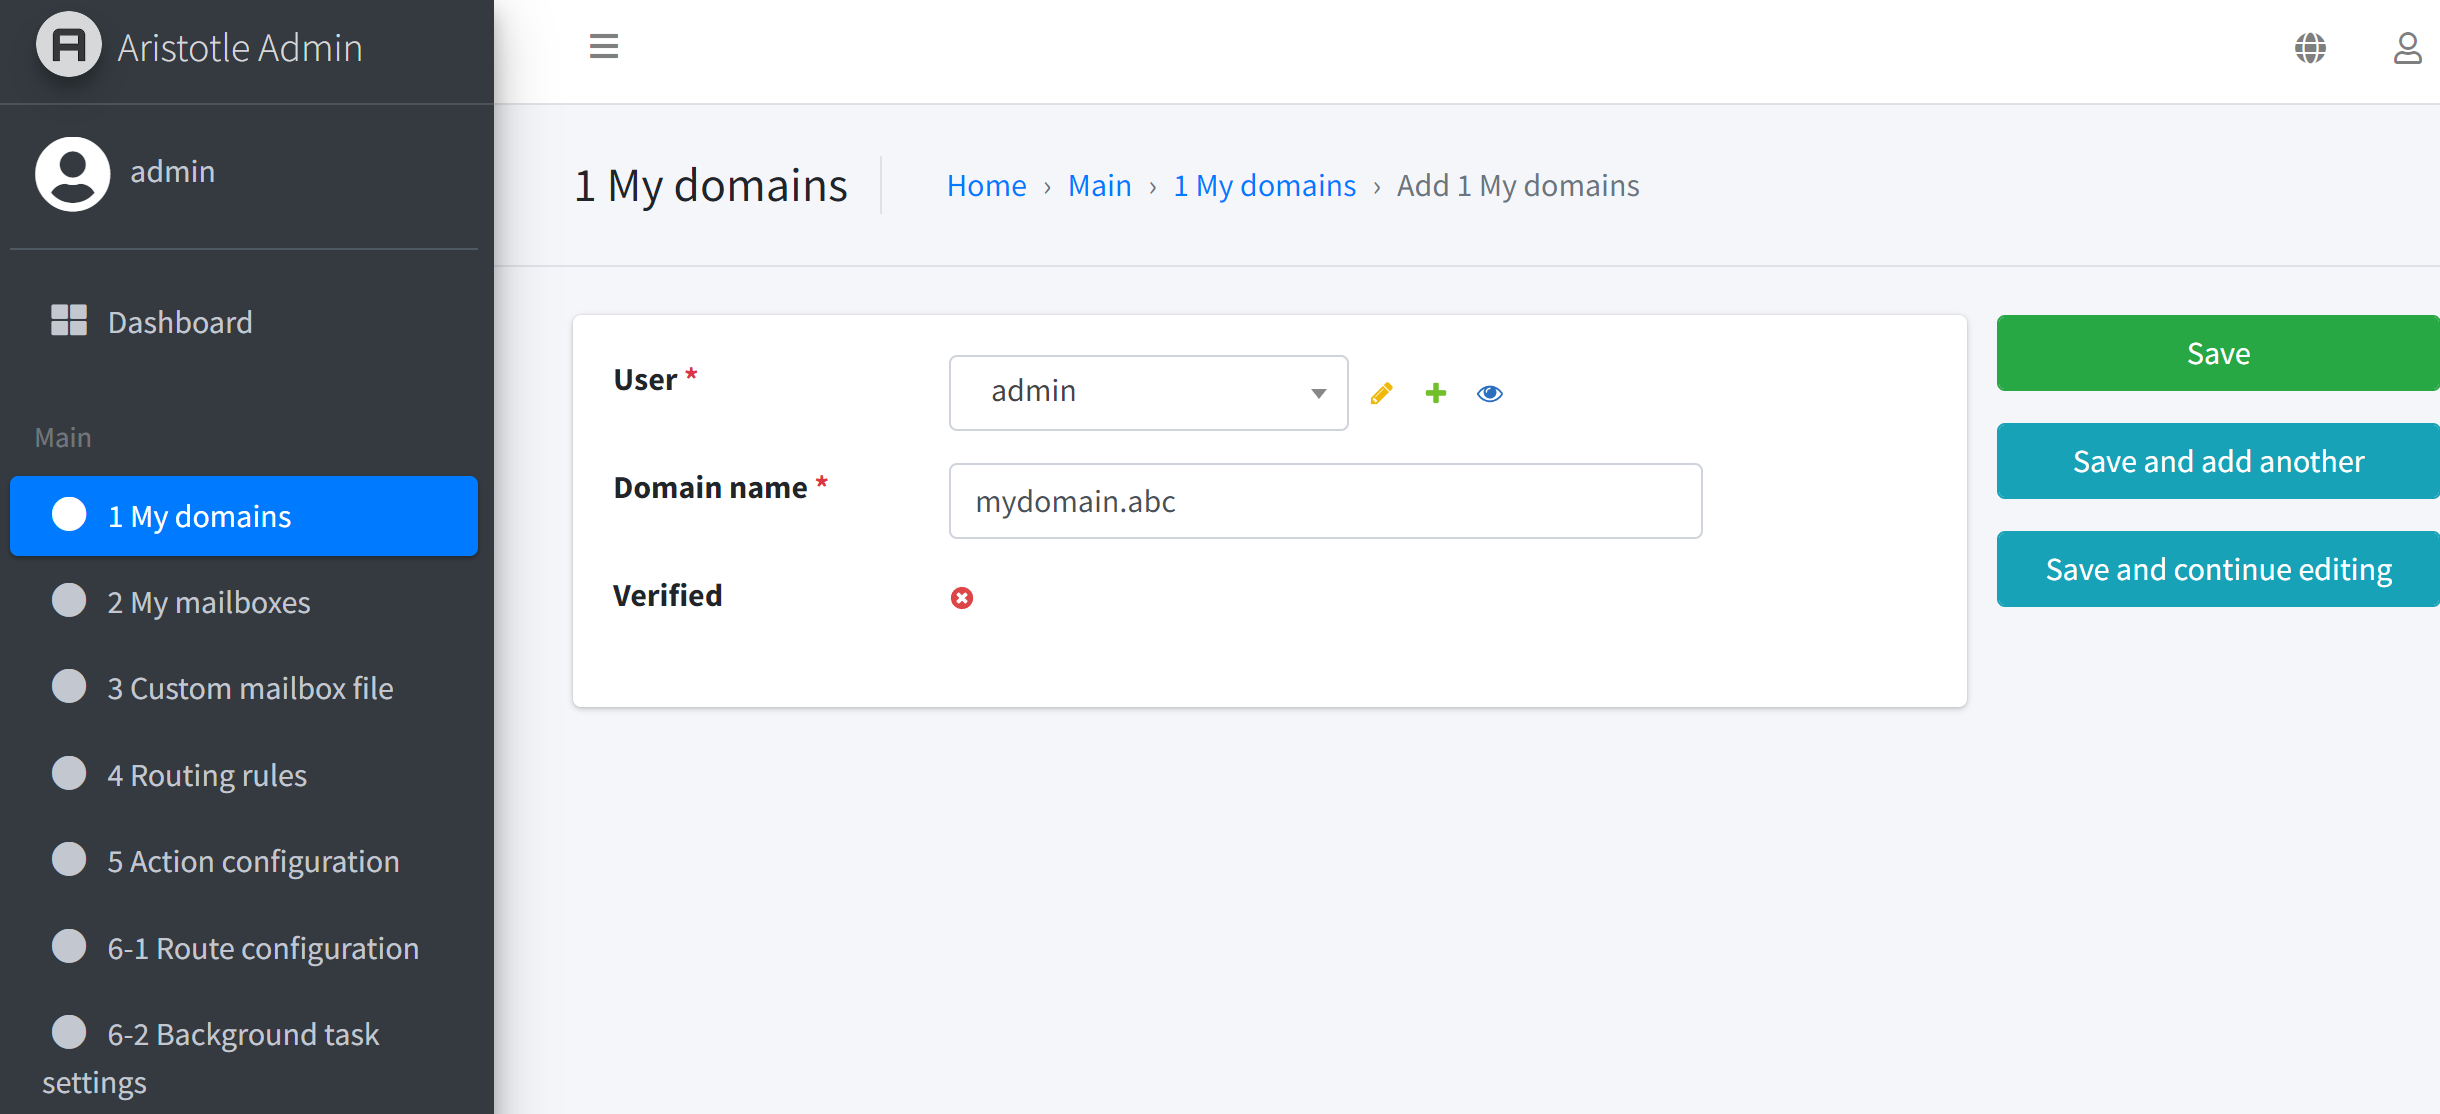
- STEP1 Go to the MailTrigger operation interface, in the My domains section, click “Create Domain”, and enter the domain name mydomain.abc (note that you must be the owner or administrator of the domain), and click create domain.
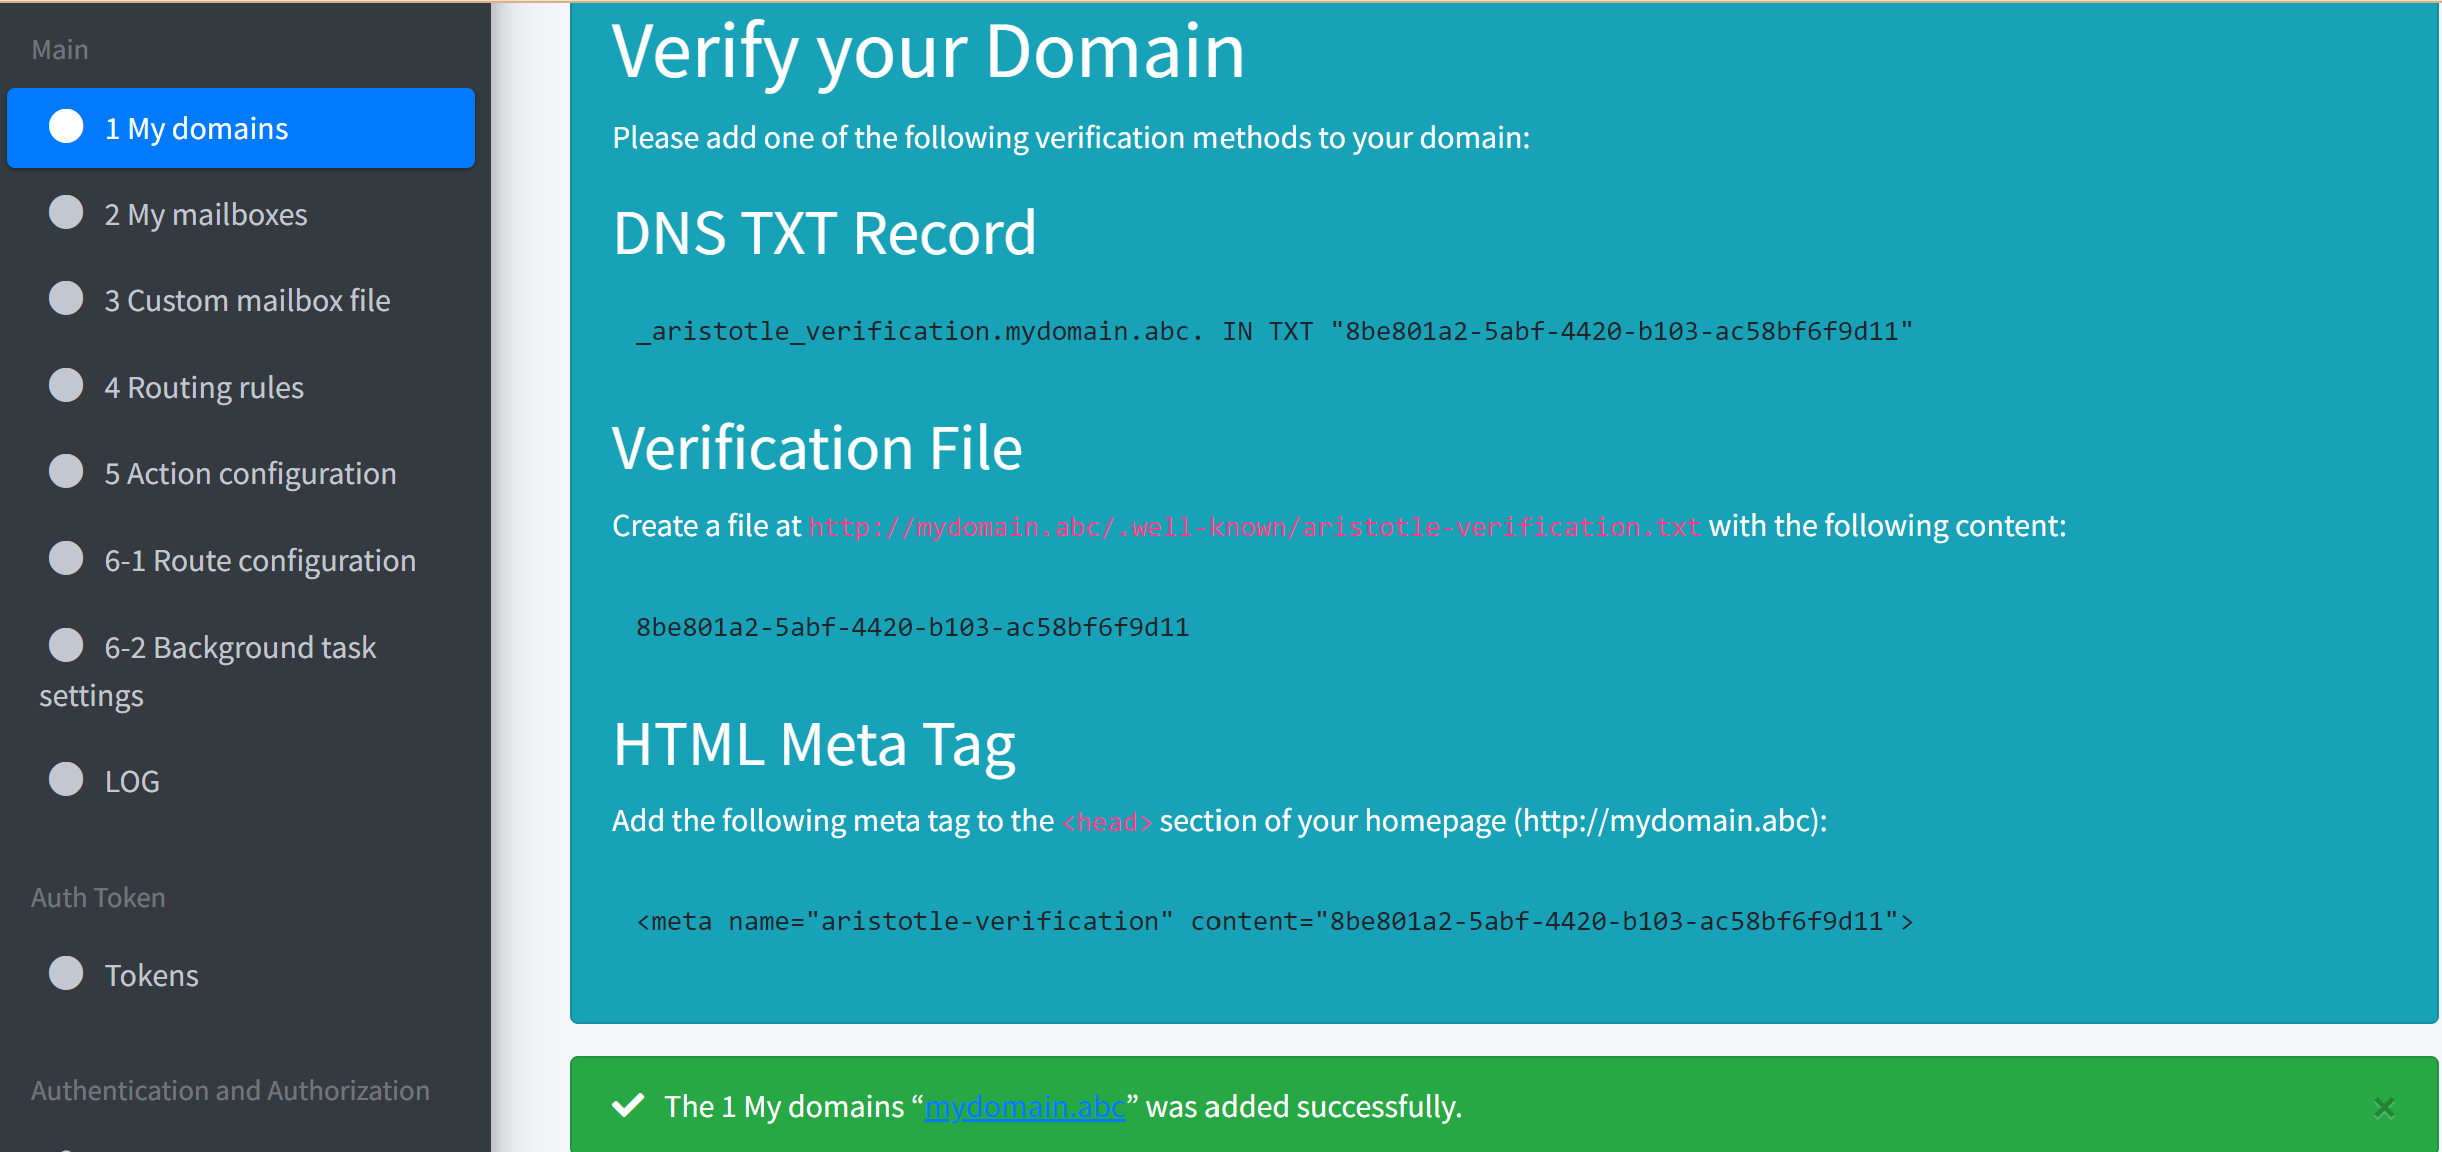
- STEP2 After the domain is created, you will receive a domain verification prompt. Follow the instructions to complete the necessary settings (complete one of the settings).
- STEP3 After following the instructions to complete the settings, you need to check the mydomain.abc domain and select the “verify my domains” button.

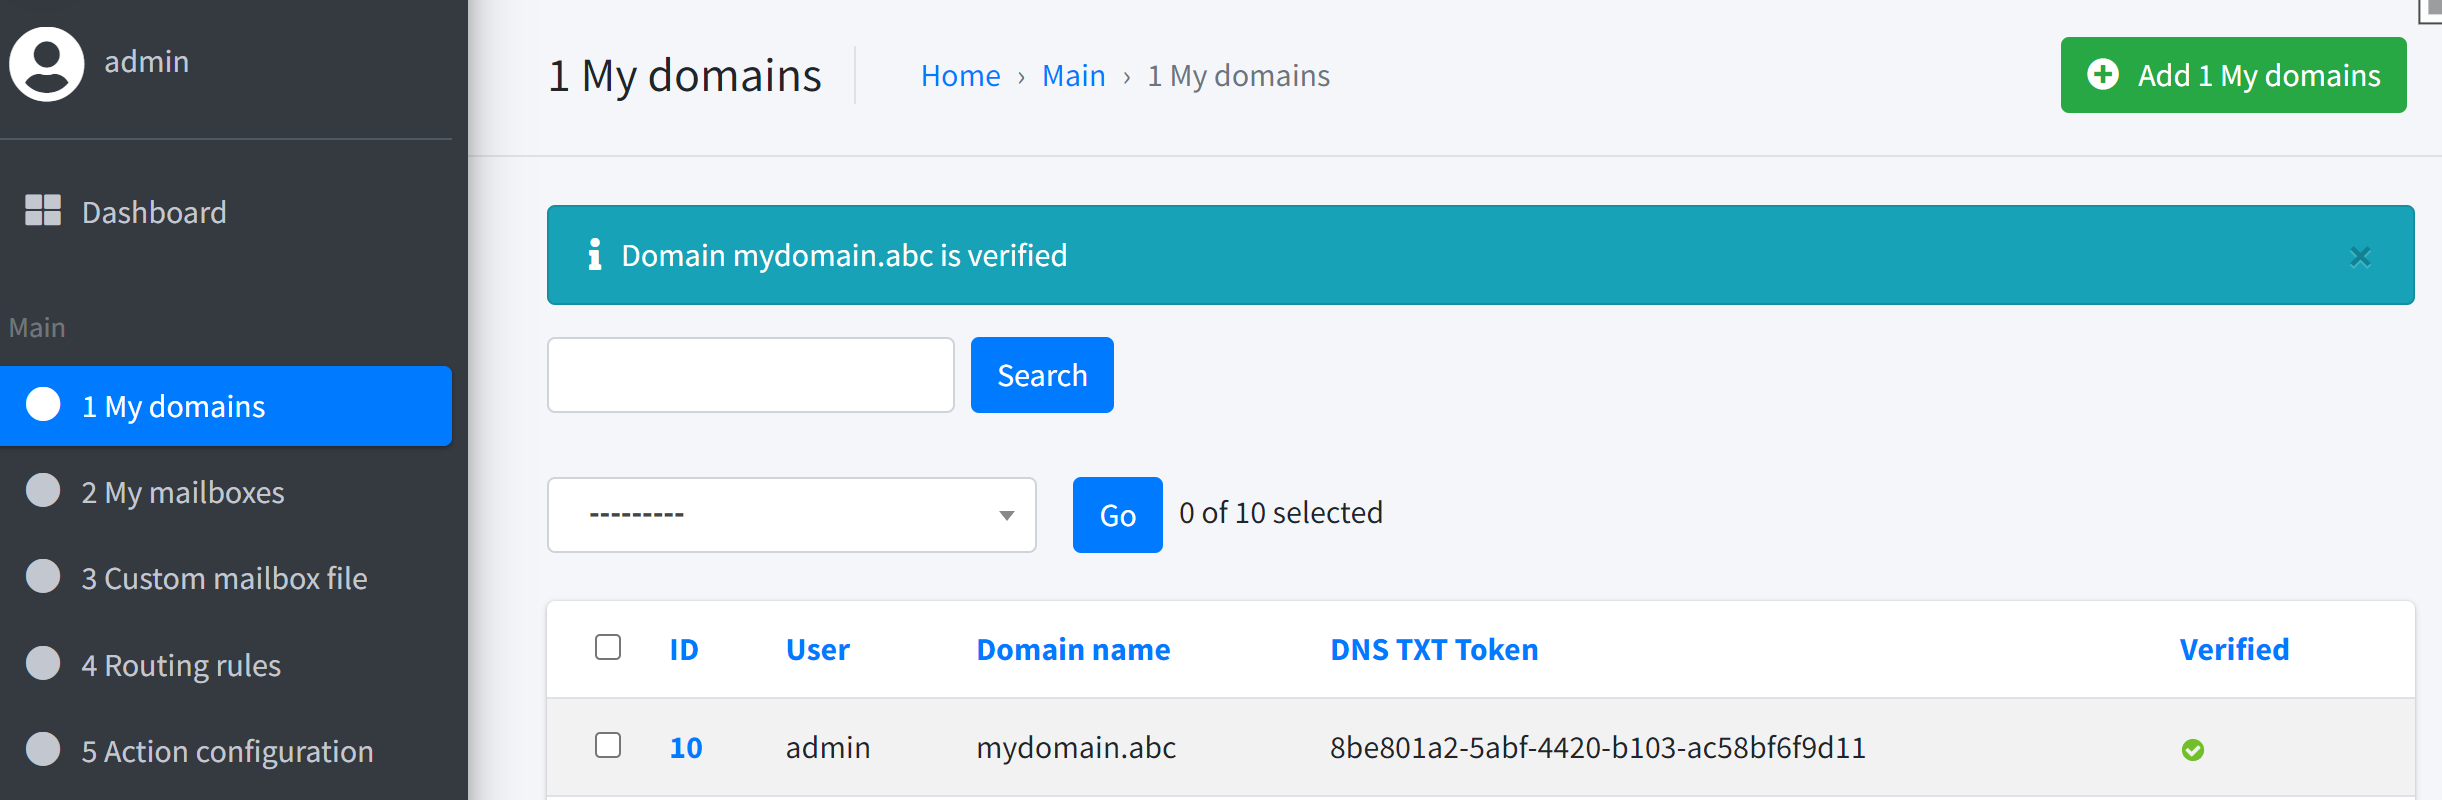
- STEP4 If you have followed the instructions to set up the domain, you will receive a verification success message as shown below.
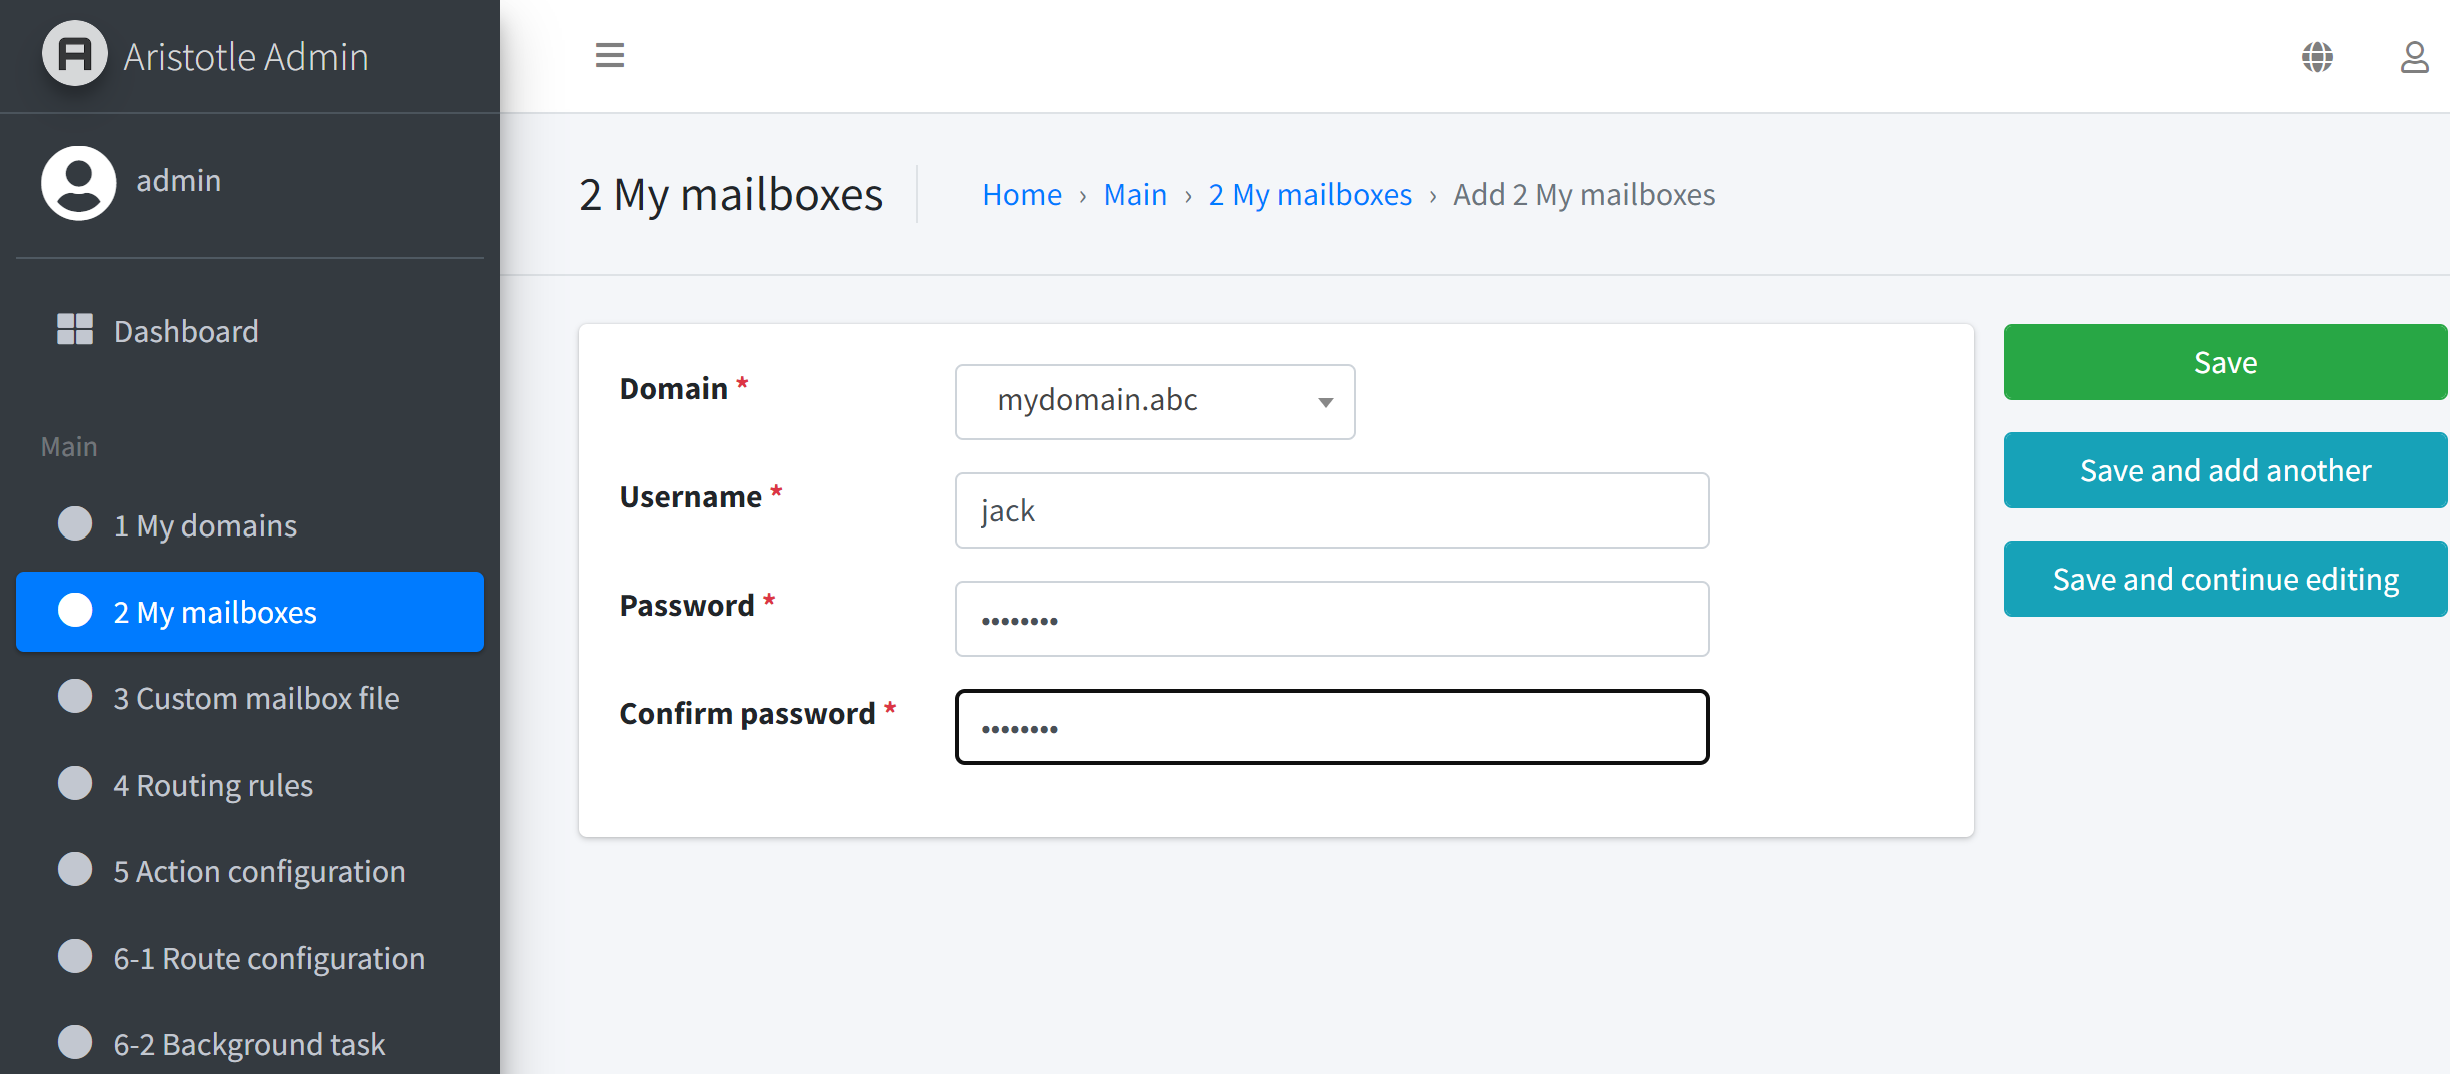
- STEP5 Congratulations, because the mydomain.abc domain has been verified, you can proceed to create mailboxes for this domain. Go to the “My Mailboxes” section and click “Create Mailbox”.
STEP6 Next, create a route for this mailbox:
5.1.1. What is a route#
A route processes emails through a series of set rules and specifies how to handle the emails. Specify rules (scope, type, value) and actions (e.g., send via SMTP, Apprise notifications) for each route. If an email meets the rule settings, it will be sent according to the action settings.
5.1.2. Three key points of a route#
Rule Settings: Determine which conditions trigger this route. Rules are condition settings, and a route can have multiple condition settings.
Action Settings: Determine which action to execute after this route is triggered. Actions are the concept of sending email content through different messaging platforms, so actions could be Telegram, Slack, Whatsapp, etc.
Route Attribute Settings: Enabled determines whether the route is enabled, and pass to next route determines whether to continue executing subsequent routes after this route is triggered. For more details, please refer to the ‘Additional Explanation’ section.
5.1.3. Operation sequence for creating a Route#
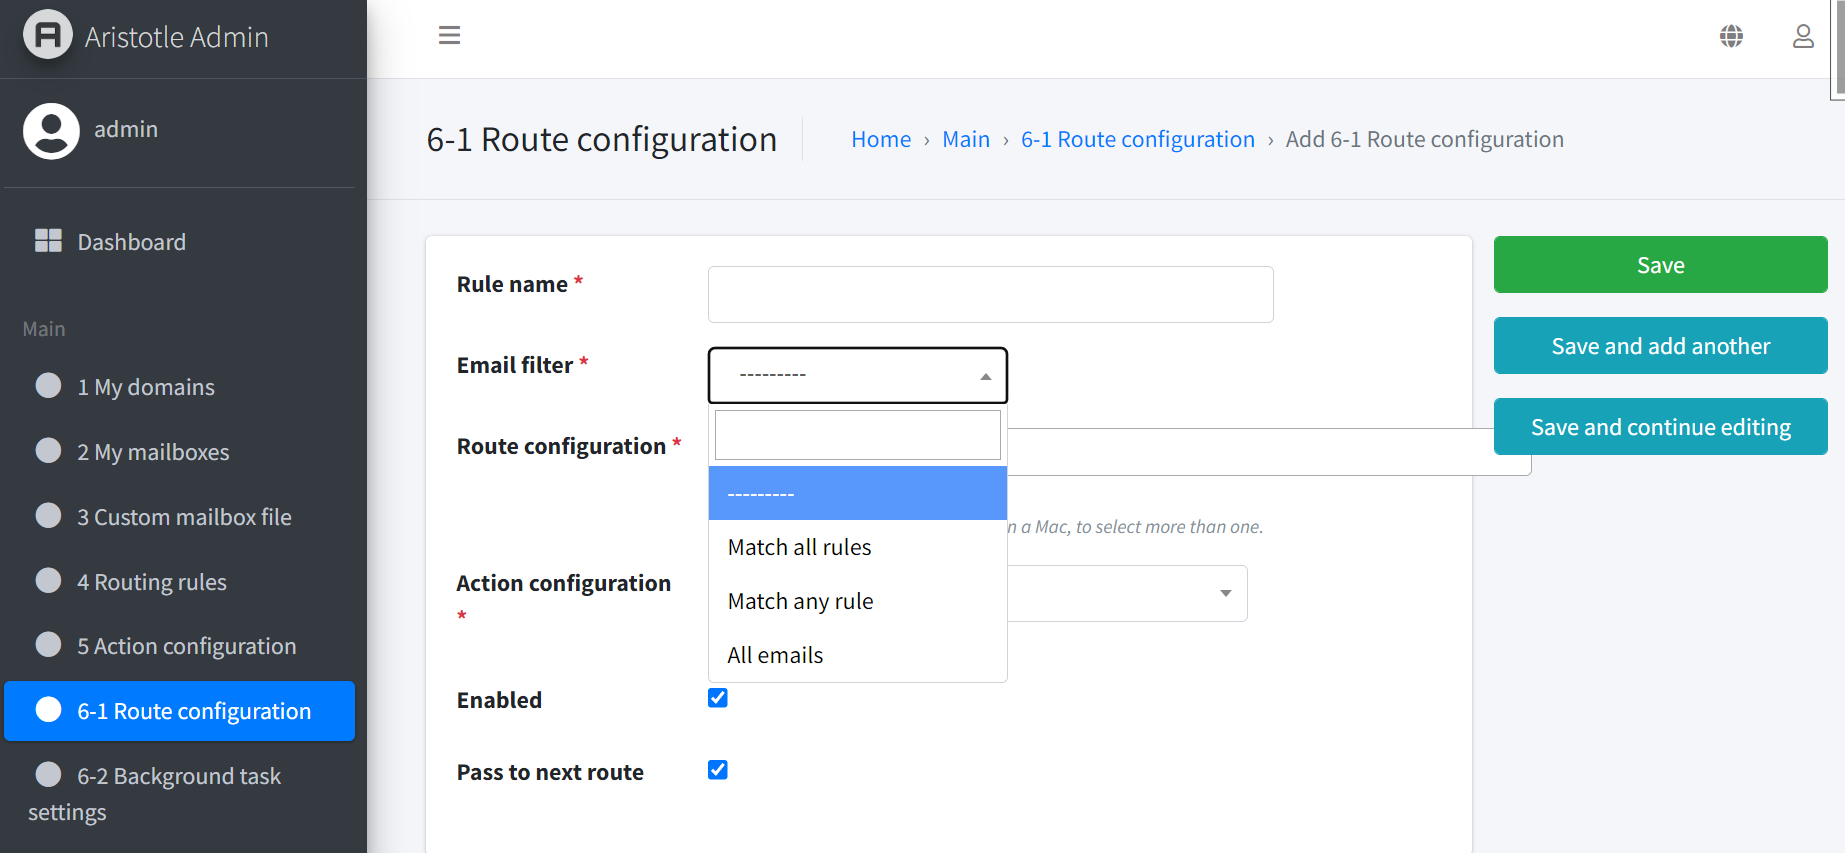
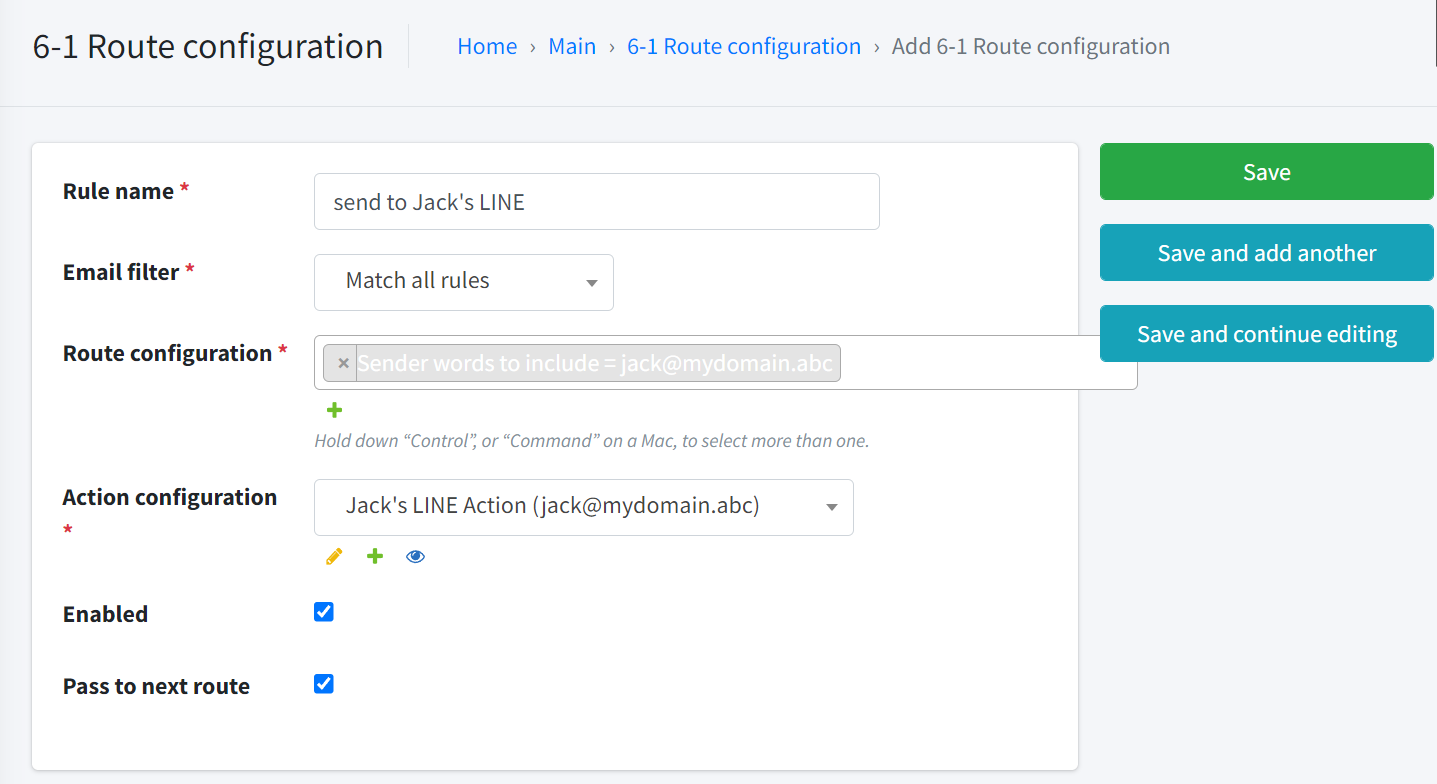
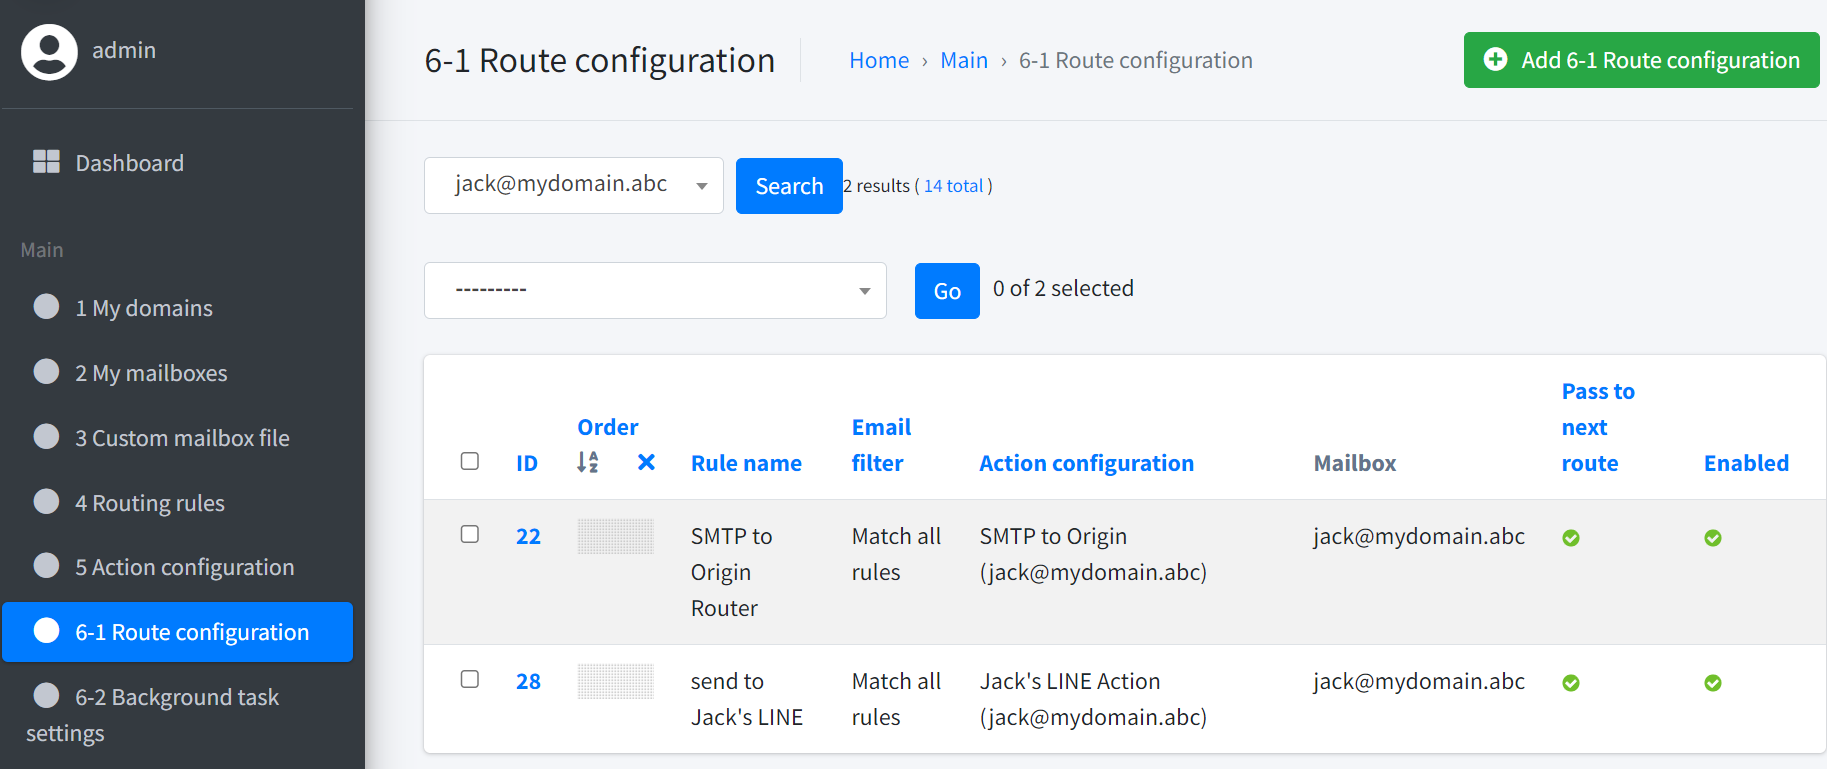
1. Create Route: Click on route configuration on the left side, and you will see the new route setting screen on the right. For the Route name, you can customize it. In Jack’s example, he can name it “send to Jack’s LINE”.
2. Filter Type: This option determines which rules must be met to trigger the route’s action. For example:
Match all rules means the email content must meet all rules’ conditions to trigger the route’s action.
Match any rule means any rule that meets the conditions will trigger the action.
All emails will absolutely trigger the action, regardless of the rules’ settings.
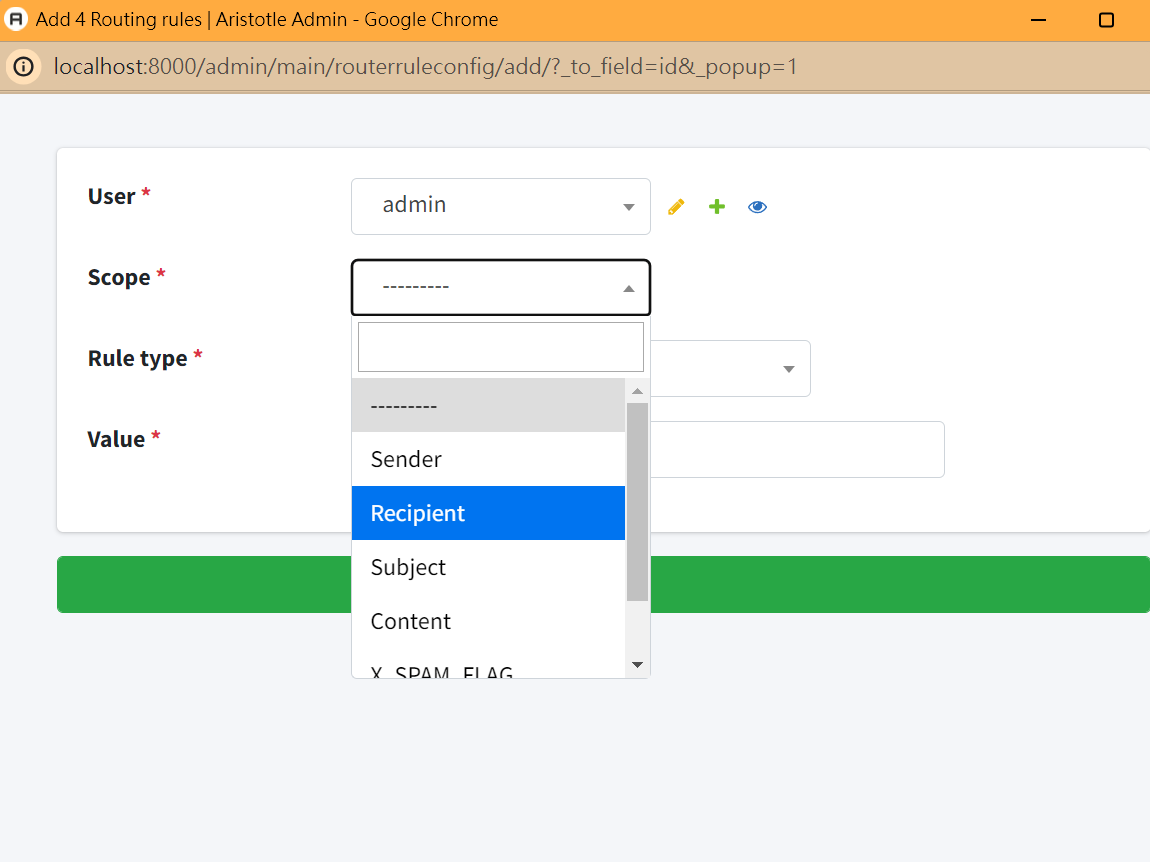
3. Rule Config: You can click the “+” symbol on the right side of this section to add a new rule.
Scope is the target of this rule, such as Sender, Recipient, etc.
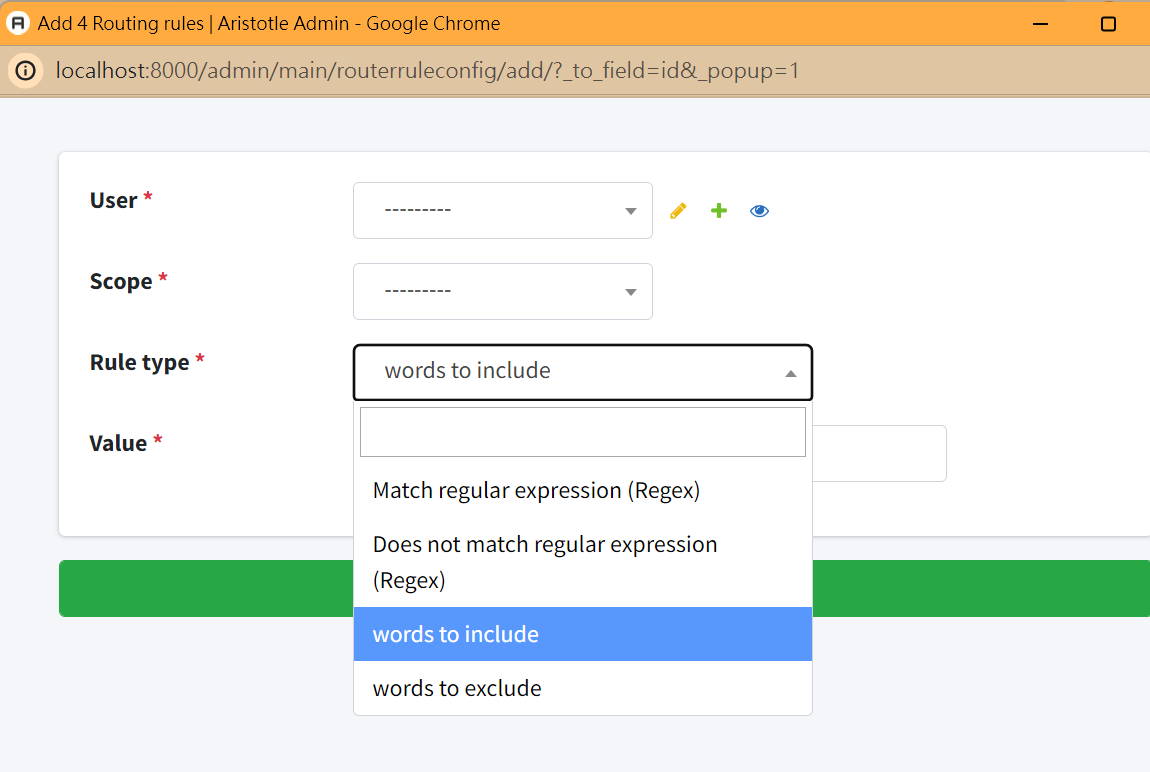
Rule type determines how the rule meets the conditions.
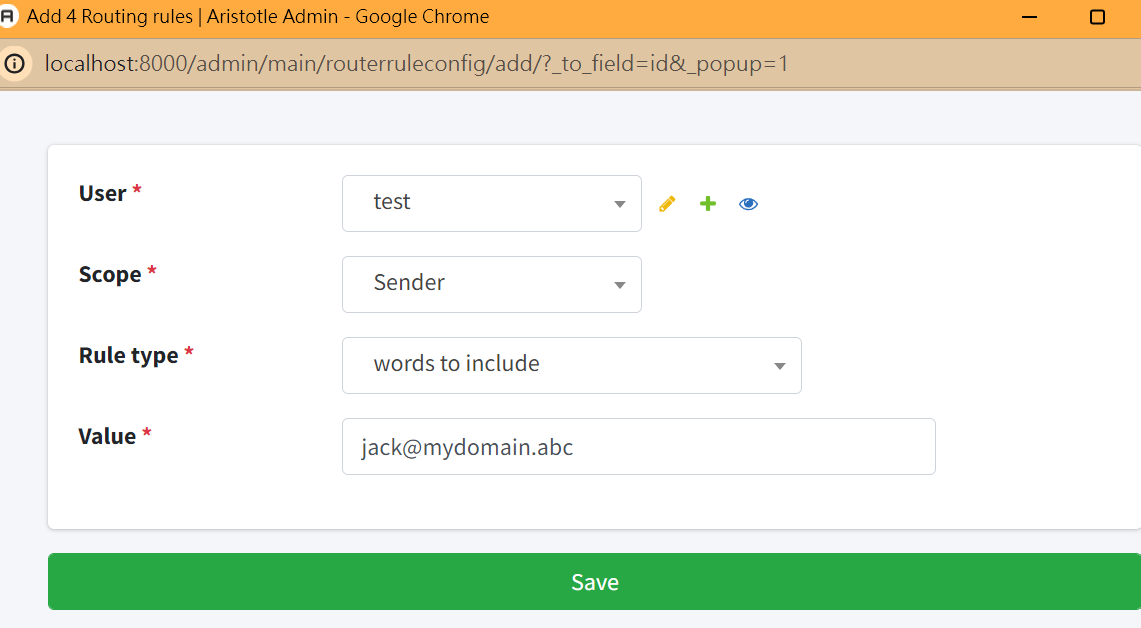
Value is the value for rule judgment. For example, if the scope is sender, the rule type is words to include, and the value is jack@…, it means that the rule is met when the sender’s name contains ‘jack@…’.
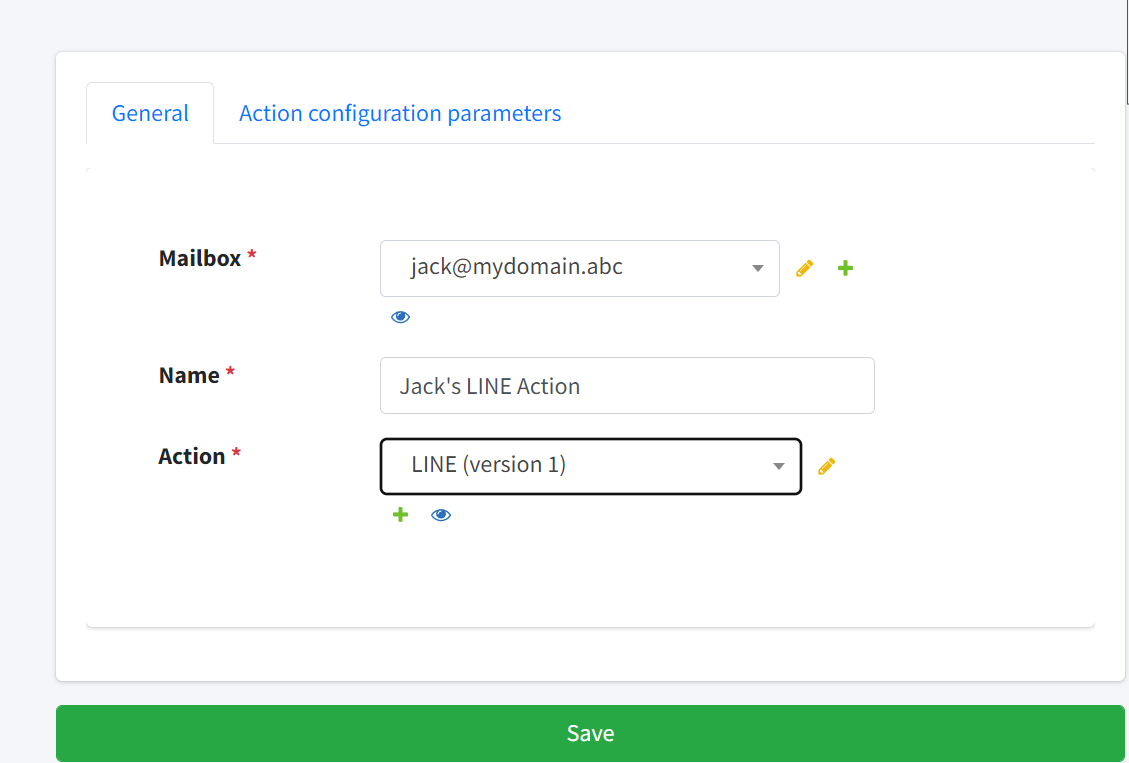
4. Action Settings: First, choose the mailbox to which the action will be applied (i.e., ‘jack@…’). Then, name this action. Let’s call it ‘Jack’s LINE Action’. Next, select the action category you want to trigger (in this example, we choose the LINE action), then click save.
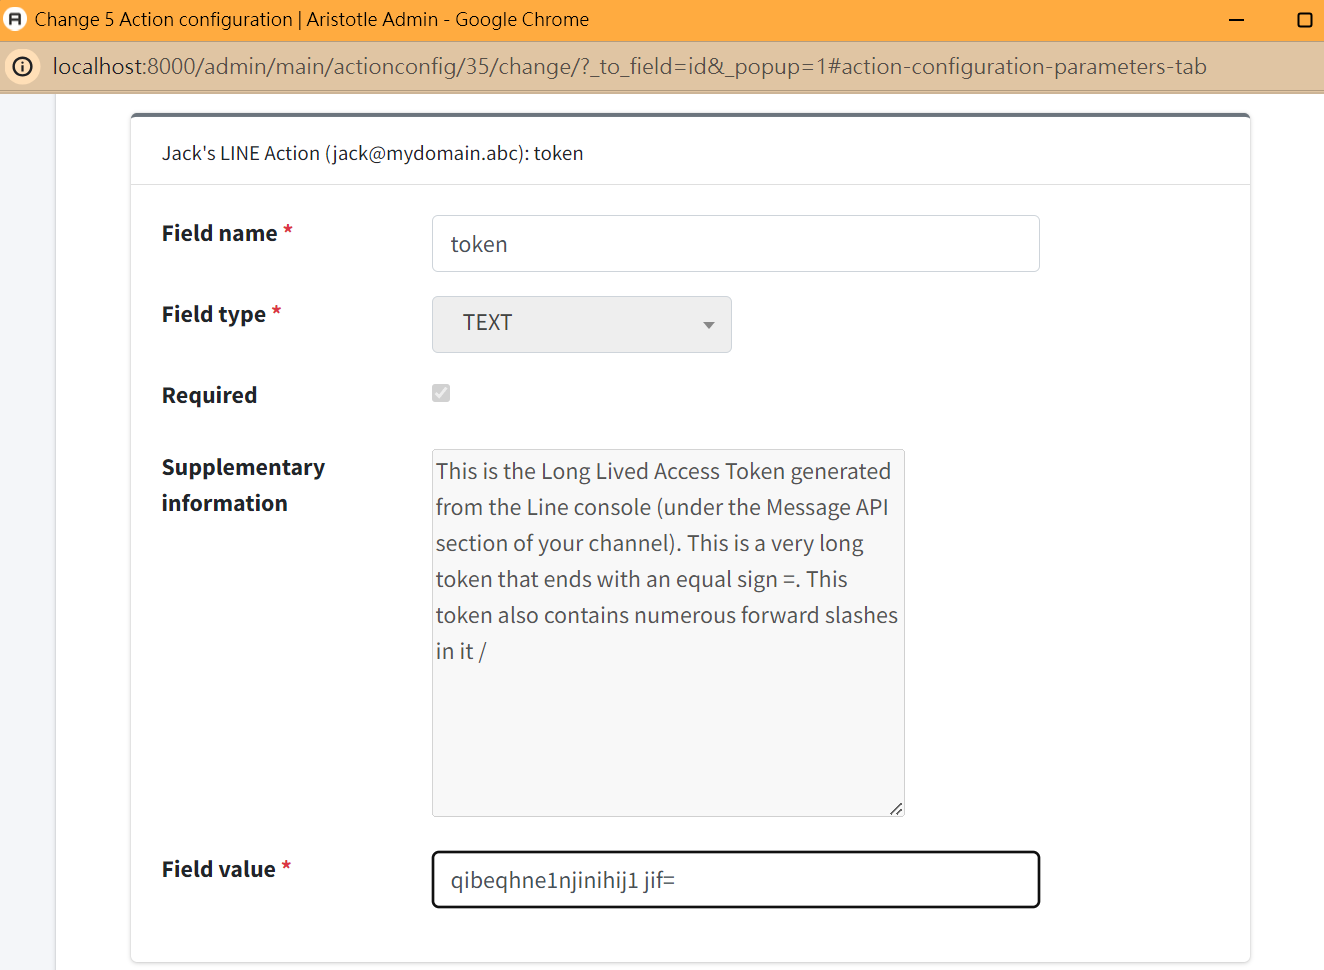
5. Action Configuration Parameters: After creating the action, go back to the action’s edit screen and click on the ‘action configuration parameters’ section. This section is the personalized settings for the mailbox for this action (for example, to send messages via LINE, we must specify which LINE chat room to send to). Fill in the corresponding values according to the fields that appear, such as the token and user ID for the LINE action. In the Field value, you will see pre-filled values such as $BODY. These are system default template variables. For more details, refer to the ‘template variable section’. In Jack’s example, he wants the mail content to be displayed on LINE, so BODY and TITLE can use the default pre-filled values without any changes.
6. Complete Route Settings: Ensure that enabled is checked and click save to create this route. Note that once the route is created and enabled, your route setup is complete, and all incoming emails will apply the route.
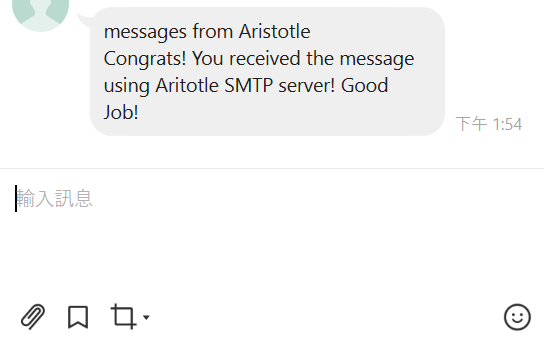
Following the above steps, Jack can successfully receive notification messages on LINE!
Additional Explanation
You will notice that after creating the mailbox, a route called SMTP to Origin Router is already generated in the route configuration. The purpose of this route is to ensure that when an email is sent through this mailbox, it will still be sent through the mail server set in the MX records of the domain, ensuring the normal operation of email sending.
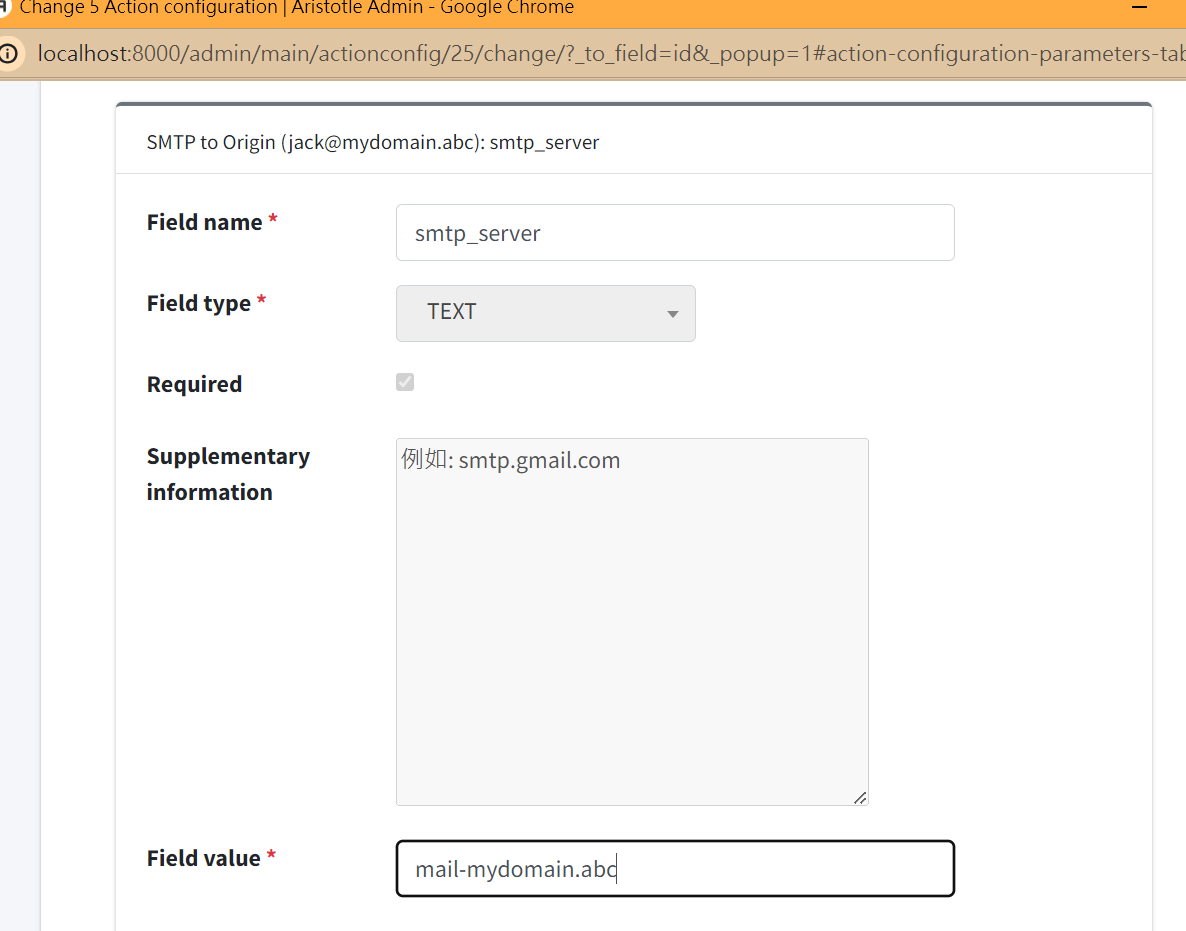
The action of the SMTP to Origin Router will automatically retrieve the mail server host information from the mailbox’s MX records and preset the sender’s account password as the account and password set in MailTrigger. You can check whether the mail server host is correctly retrieved and replace it with the correct host, and correct the default settings according to the actual account password used on the mail server.
Please ensure the SPF settings of the domain (e.g., mydomain.abc) are correct, otherwise, the email will be bounced back.
For obtaining the personal information required for sending messages on various messaging platforms, refer to caronc/apprise
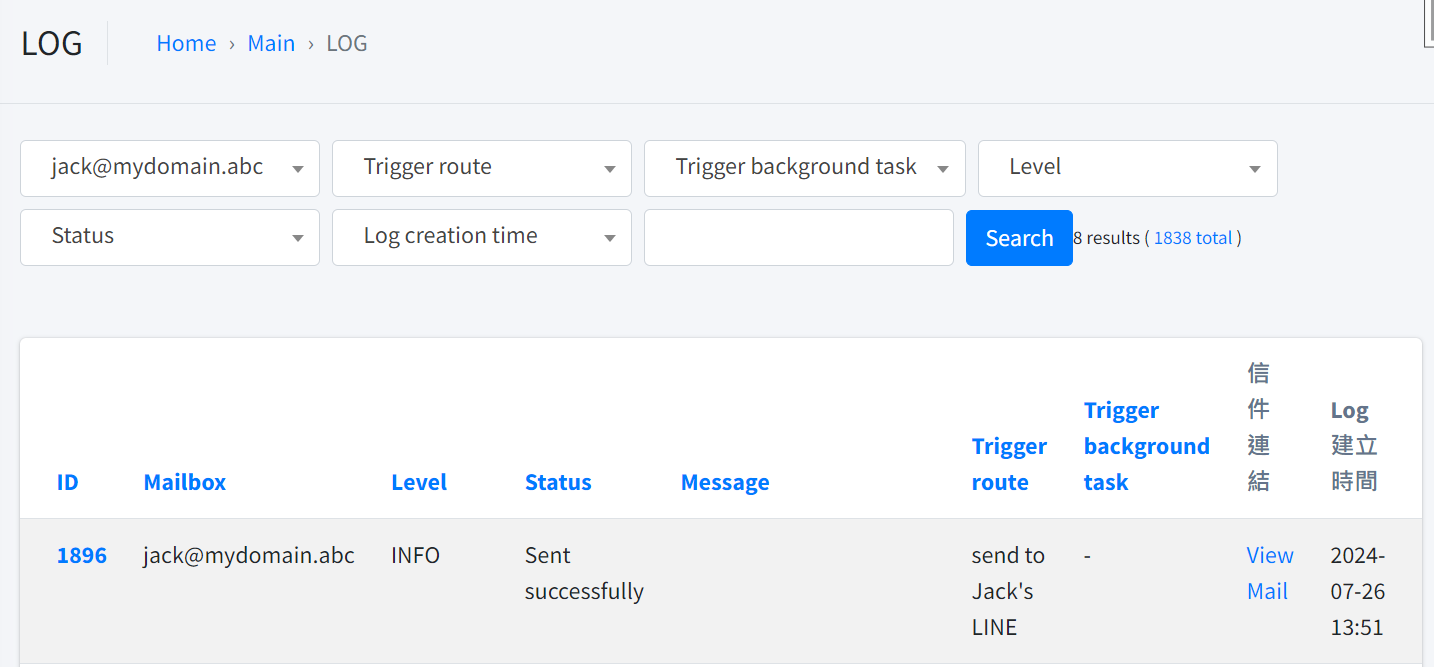
STEP7 The execution status of emails that match the routing rules will be recorded in the logs. Users can observe the execution status of the routes through the logs. If an email matches the rules set for the route, the route will be triggered, and you can see the detailed trigger situation in the log section.
5.2. Forwarding Function#
After you have completed the route settings according to the `Steps`_ section, you can also use other mailbox tools (such as Gmail) to forward emails to the mailbox you set up in MailTrigger, and the email will automatically apply the routes you set for that mailbox to send messages. For example, Jack wants to forward emails about “CNN News” he receives in Gmail to WhatsApp, making it easier for him to see these news articles. He can set up a forwarding route in Gmail (emails related to CNN News will be forwarded to jack@…), and Jack can receive these CNN News articles on his WhatsApp!